When you install an irrigation system in your backyard, the professionals from Chuck’s Landscaping ensure everything is in tip-top shape before leaving the premises. This involves checking the connections and ensuring the pipes are sealed properly. Even with all the preventive measures to maintain an efficient system, dirt and debris can get in, clogging your pipes and affecting system function. Hence, routine flushing and inspections can help mitigate potential problems and inefficiencies associated with line buildup.
Flushing is a simple and fast solution that inexperienced individuals can perform, but if you prefer a more hands-off approach, hire a professional irrigation technician. Sometimes flushing is not the best, especially if a single sprinkler or zone is clogged. We recommend cleaning the sprinkler heads after flushing the system to clear buildup and restore system efficiency.
Dirt and Sand in the Sprinkler System
Accumulation of sand and dirt in the sprinkler system is typical and is usually the cause of clog damage. Even if the system is sealed, it is a mystery how these items find their way into the system and wreak havoc. Although the damage is not instant, homeowners can determine the severity of deterioration by the number of sprinklers exhibiting low flow. If only one sprinkler shows signs of blockage, you can flush it before it spreads to the rest.
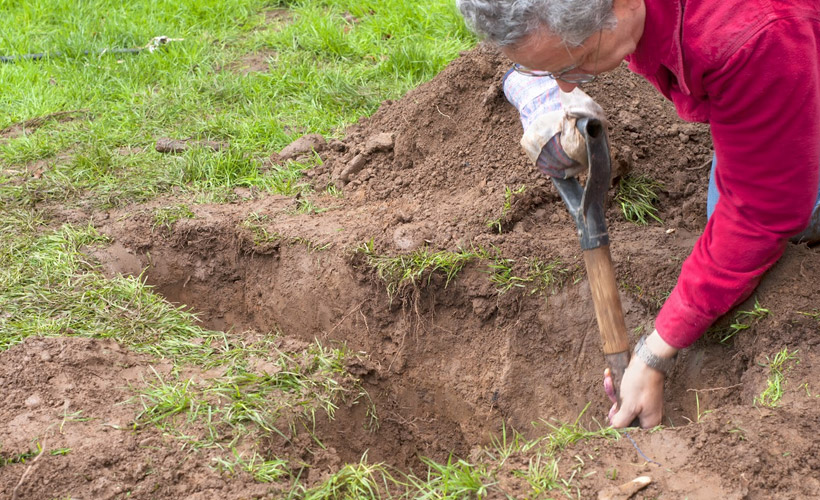
Unscrew the affected sprinkler heads, turn on the water, and let it flow freely throughout the system to clear sand and other debris buildup. Dig a hole around the affected sprinkler head and make it wide enough to prevent dirt from entering the lines. Grasp the head and turn it clockwise until it comes off before turning on the water and rinsing the head. If the system shows signs of clogging, it may be time to call an irrigation expert.
Flushing Zone by Zone
Sprinkler systems usually have multiple zones, each controlled by a different valve. If you suspect a particular zone is blocked, flushing the entire zone should rectify the problem and restore optimum flow. You don’t have to remove all the sprinkler heads to flush the affected zone, just one, and you can find out which one easily.
Access the zone valve and open it manually by turning the knob at the top and checking the sprinklers. The goal is to identify the sprinkler that takes the longest to start spraying so that you can remove the head and turn the valve on to let water flow freely. You might be surprised at the amount of dirt in the water flowing out, and when everything clears, turn off the valve and replace the sprinkler head.
Physically Remove the Dirt
Whether your sprinkler head breaks or you remove one, dirt and debris can enter the pipe. If the area around the head is dry, use a wet/dry vacuum to suck the blockage from the system. Even if the opening on a standard vacuum hose is larger than the pipe opening, use an oil funnel or other inexpensive alternatives to make it smaller. After removing the dirt, screw on the sprinkler head to mitigate future clogs.
For help with a clogged sprinkler system, contact us at Chuck’s Landscaping for top-notch repair services. We leverage industry-standard equipment and proven strategies to help you maintain an efficient, high-performance system all year.


